Showing posts with label cook your scraps. Show all posts

Monday, June 26, 2017

Leek Stock: 100 Days of Recipes, Day 59

It feels like it's the pinnacle of harvest time at the Tailgate Markets, with flowers and plant starts everywhere, strawberries and blueberries abounding, piles of greens, radishes, squash, carrots, garlic... it goes on and on (and don't forget the cheeses, eggs, fish, poultry, and meats), and the tomatoes are JUST starting! It's a huge blessing of abundance, and I feel like it anchors my week when I get to stroll an early Saturday morning away through the crowds and chat with the wonderful people who produce all this goodness.

I've also been more mindful of getting as much as I can out of all the wonderful locally produced foods I bring home, and that's included looking at the parts that often get relegated to the stock pot or even the trash bin. I love making good veggie stocks out of skins, tops, and other bits and pieces, and I usually keep a bag or two in the freezer on hand to collect all those scraps. It didn't occur to me to make specific stocks out of just one ingredient (possibly because I have a skinny 'side' freezer, and I have to be creative about the 'stock' items I keep in addition to all my other freezer residents). That was about to change.

My Tailgate finds for the weekend - those lovely, wide, bands
of green are my leek tops!
This weekend, I picked up a generous bunch of beautiful leeks, and unlike those I might get at the grocery store, these have not had their green tops trimmed down, so there was a LOT of extra greens. To be honest, to save time I might just lop off the top third (the really green parts) and toss them, saving the rest of the stalk (minus the bulb) for stock. But they smelled so good, and were just so beautiful, I couldn't believe they wouldn't be good to eat with the proper treatment - I knew they could be a great steaming bed or wrapper for fish, and I had seen them used to tie up a 'bouquet garni', but I hoped for more. A quick scan online showed me multiple recipes using leek greens, so I knew I wanted to keep them for something better than 'just stock'.

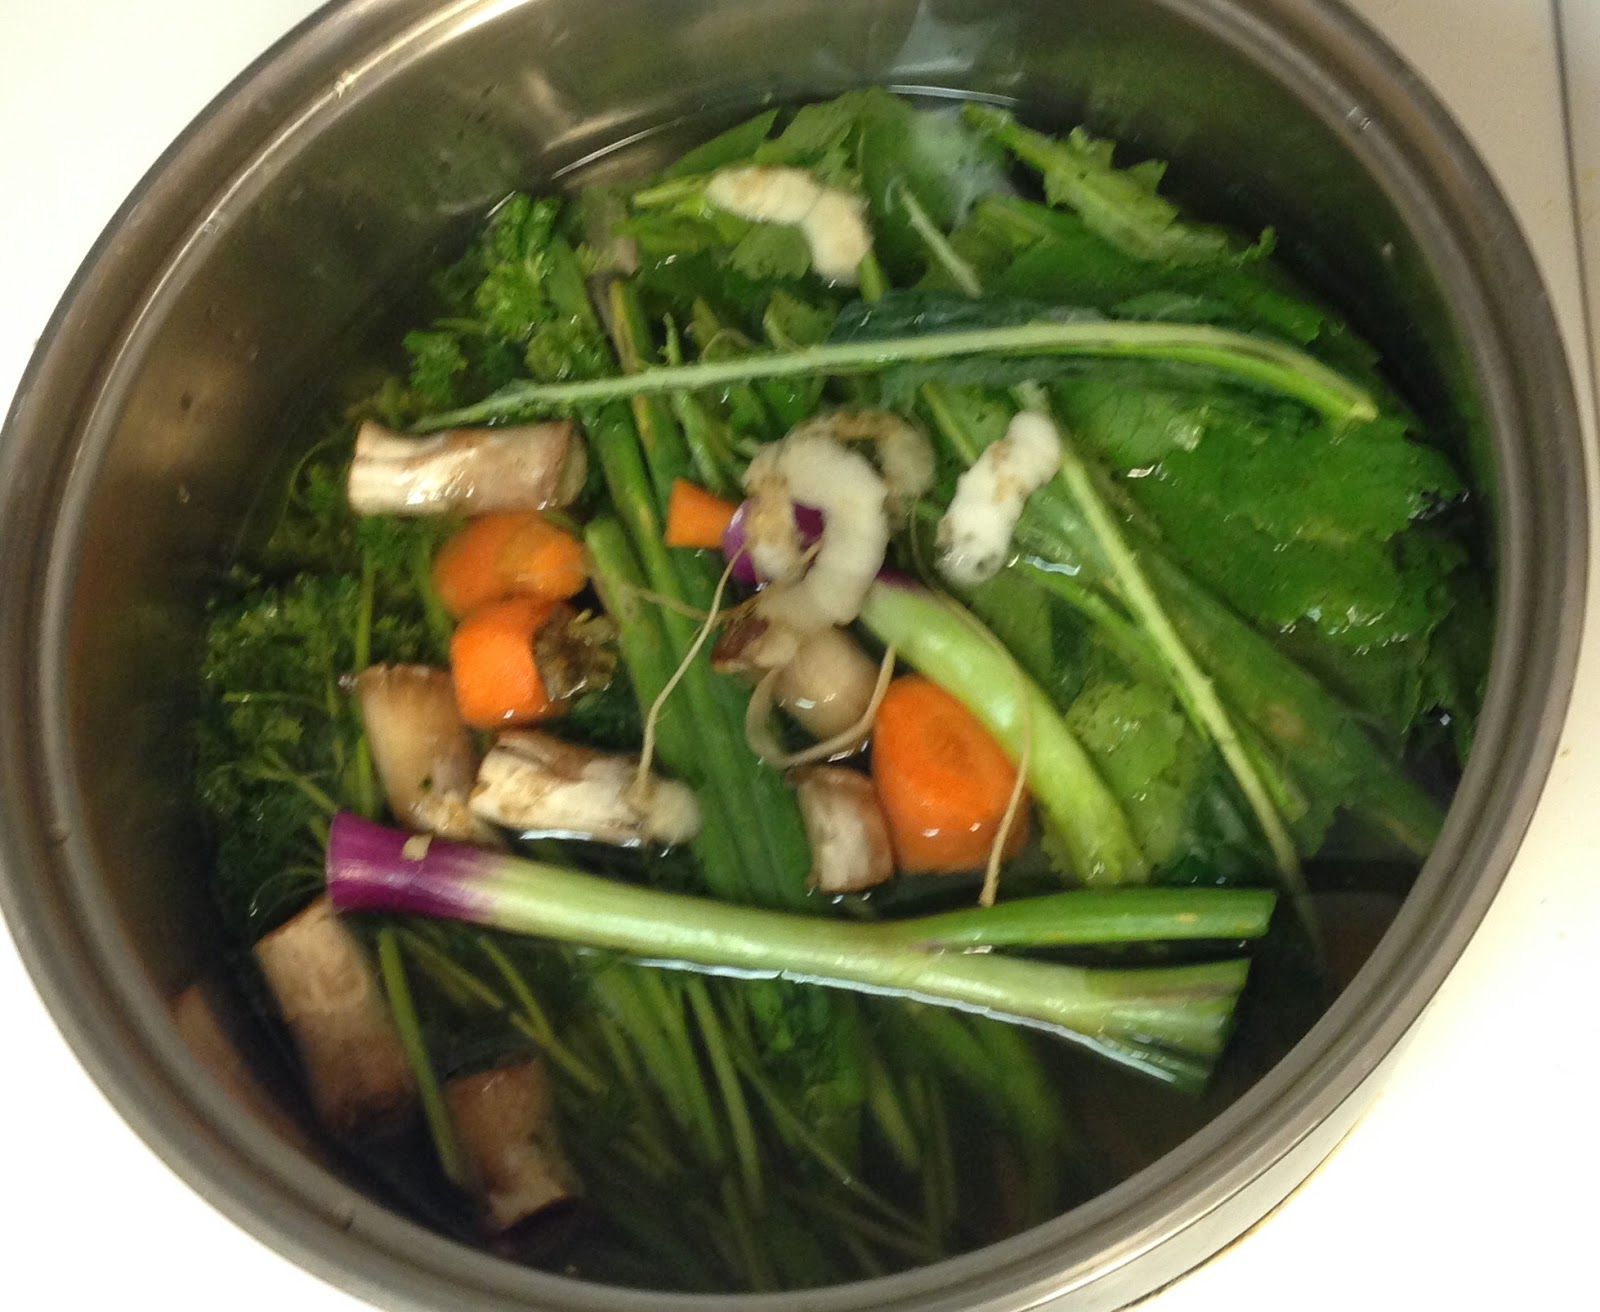
Leeks pre-blanche: I wish you could smell this - leek heaven!
They are a lot tougher, and are more fibrous, than the softer parts near the bulb, so I cut them into smaller pieces and then blanched them. Actually, I'd say I did more of a double or triple blanching - not just a quick toss in boiling water, but more of a simmer for about 5 minutes. I was multi-tasking so ended up letting the leeks cool in the liquid on the stove before draining them into a big bowl.

I changed my mind - NOW I wish you could smell this!
So now I have these beautifully softened leek tops, ready for a nice leek tart, or maybe inclusion in a meatloaf, or a curry, or who knows what else? Even better, I have this GORGEOUS leek stock. I really didn't even think about that part when I was simmering away, but just before I was about to drain the liquid into the sink, I got a whiff and realized I needed every drop of this goodness as well. My freezer has an ice maker, so I don't have ice cube trays. I used my popsicle molds so I could get some stock into the freezer for later use. These other two jars will soon become a base for a soup (cauliflower/sweet potato is what I'm thinking right now), and also a braising liquid for other cooking this week.


I had ideas for several uses of the blanched leek tops - they got a LOT smaller,
so maybe one really nice tart for the tops, and several uses ahead for the stock!
This recipe is more for an ingredient to be used in another recipe. In short: I cut up the leek tops, put them in a stock pot, covered them with water, and brought them to a boil. I lowered the heat to a simmer and let them go for about 5-7 minutes. They cooled in the pan, and then I drained the leeks, squeezing out the excess liquid, which I retained in jars and molds for the freezer. The leeks were then double bagged, labeled and also headed to the freezer.

I'm sure you'll see them pop up again in another recipe!


Friday, June 9, 2017

Carrot Top Gremolata: 100 Days of Recipes, DaysI l 53 & 54

Two days of recipe inspiration comes from the recent episode of the new series "Scraps" (FYI network I believe - I don't get that one, but you can watch it online after it airs). I love the show and how it features great chefs and recipes in general, but even more for how it focuses on using the bits and pieces that usually end up ... well, as scraps! In this episode,  I loved everything that Chefs Joel Gamoran and Jenn Claiborne made, but the Carrot Top gremolata really caught my attention. I love using the leaves and tops of most all vegetables, but for the most part, when I have carrot tops, they usually go into a stock pot. Not this time! I had a lovely piece of cod I wanted to cook up, and the gremolata sounded great to go with it. It didn't end there, tomorrow I will share how I used my leftovers and that same idea for a whole new meal.

I love my new garlic keeper by Hannah McGehee, and it also keeps
my fresh ginger and turmeric! Her larger version (top right) holds the onions.
Chopping up the carrot tops with some lemon peel and garlic, I had a strong smell memory of pulling carrots out of a garden when I was younger - it had a nice, fresh, earthy aroma and I could almost taste the fresh carrot. I knew then it would be a great combination for my fish.

I made a 'bed' of gremolata in my baking dish, topped it with a lightly salted
piece of cod, then more gremolata. I put it in a cold oven and brought it up to 375 degrees.
The result was delicious! Each of the flavors in the gremolata came through and the combination with a beautifully flaky cod was the perfect compliment to a fresh market salad.

It's Easy Being Green! Crazy Green glaze makes a beautiful frame, and deep, lush 
Tenmoku glaze makes a perfect canvas for Tailgate delights: baby greens, radish sprouts, 
snap peas, and kale plus some shredded carrot for a little color.
Roasted Cod with Carrot Top Gremolata

1 large handful of carrot top greens
2 large cloves of garlic, cut into thin strips
pinch of salt
3 strips of lemon peel (try to avoid too much white pith)

Smash the garlic, then sprinkle salt on top. Add the lemon peels and continue to dice finely. Add the carrot tops (I'd say I had a loose cup or so) and continue to finely chop it all together.

For my fish, I laid a bed of most of the gremolata in a handmade baking dish. After lightly salting the cod filet, I placed that on the bed of gremolata, and then sprinkled the rest on top of the fish.

The baking dish went into a cold oven (heat your handmade with the oven!), then I set the temp at 375. Cook time will vary depending on the size and thickness of your filet, but mine was perfectly flaky after about 22 minutes. If you use a more traditional baking pan that doesn't need to be heated with the oven, check it sooner!

I continued the light, fresh flavors on my very green salad, using a light sprinkle of salt and squeeze of lemon for a dressing. Baby greens, snap peas, and a few shreds of carrot have a lovely sweetness, and the radish sprouts have a light, peppery bite to compliment. All together with the cod and gremolata made for happiness in every bite!


And as often happens, I was enjoying this lovely meal and already thinking about what I wanted to do with the leftovers. Stay tuned...


Thursday, May 11, 2017

Beet Greens Soup: 100 Days of Recipes, Day 38

It's been a good while since I've done weekend shopping and cooked from that all week - it seems that in the past couple of years, it's been a day to day pondering, with the exception of making a large batch of something that lasts 2-3 days. "The Pleasures of Cooking for One", my current cookbook muse, is motivating me to create meals that feed into other meals, and is reminding me to think differently about all parts of the foods I'm using.  Today's "recipe" will take you through what I did yesterday, and while I am not writing this out in recipe form, if you read it all, the recipe is in there!

I'm a huge fan of leftovers and throwing things together with 'scraps', and reading this book in combination with recently discovering the Instagram feed called 'cookscraps' is giving me all kinds of great ideas!


All the bits and ends from weekend cooking and prep - soon to be a yummy stock!

Over the weekend, I started by preparing some salads for the week, and I tossed all the stems, peelings, ends and little bits left over into a stock pot with some water and a few herbs, and simmered a lovely veggie stock throughout an evening. I took that to the studio yesterday, with the rest of my beets, kale, garlic scapes, some onions, sweet potatoes, a random few mushrooms and carrot.


Note: Beet leaves are also great added to other greens in saute,
or even thinly sliced and added to other soups
I chopped up the beet stems and kale bones and softened them in a bit of the stock with a small spoon of coconut oil, adding more stock as I kept chopping stems and the liquid reduced. I also chopped up the onion, bulbs and greens of the garlic scapes and added that. And I finely chopped up about 2" of ginger and added that with about 1 tsp each of cumin, cayenne, smoked paprika, and turmeric. While that simmered away, I cut down the beet greens and kale, then added that to the pot with the rest of the stock (I had 2 quarts total), put a lid on it, reduced the heat to a high simmer, and let it do its thing until the greens and stems were completely tender. While that was happening, I peeled and cut 2 small sweet potatoes into cubes, peeled the beets, cutting the larger ones into smaller pieces, and cut the mushrooms into quarters. Those were tossed with a slight drizzle of olive oil and seasoned with salt, pepper, and smoked paprika, and roasted in a 400 degree oven until tender, but not overly soft. 


Green soup: pre-blend. I had gallery activity during the blending, so didn't photograph that part.
I forgot my immersion blender at home, but we have a small blender at the studio, so I did a few batches of the soup in the blender to get it all smoothed out (*tip: when pureeing hot soup in a blender, don't fill it all the way up, and drape a kitchen towel over the top before you go - the heat will expand out when you do, and if you're not holding on and/or if your lid isn't tight, it will pop off and shower you with hot soup. I did not find this out the hard way, I witnessed it years ago in a kitchen and never forgot!)

The pureed soup was returned to the stock pot, but it was thinner than I had hoped. We didn't have much for thickening, but luckily I had been busy enough that I never got around to my own breakfast, so I harvested some uncooked oats and walnuts, tossed them in the blender with a cup of the puree, and created a nice thickener to add back to the pot, along with the roasted veggies.

What resulted was a lovely, thick, maybe not velvety but smooth enough, green soup with a delightful depth of flavor.


Sexy, velvety soup with roasted vegetables over soft vegetable polenta.
As I was cooking at the studio, I was cooking for more than one, and we wanted to stretch the soup a bit more (and add a starch for those who wanted it). I hadn't planned for that, so another quick tour of the studio kitchen cupboards gave us our solution: a bag of grits and a can of vegan vegetable soup. I brought the soup, plus two cans of water to a simmer in a small pot. Meanwhile, we picked a casserole pan out of the backstock inventory (a beautiful piece by my studio mate Sarah Wells Rolland - we were all so hungry by the time this was done, it wasn't until later that I realized we never took a picture of that!). It got a quick 'greasing' with coconut oil, then 2 cups of grits, salt and pepper and mixed that together. The simmered soup/sauce was poured on top, mixed well, and the casserole was placed in the cold oven. We set that to 350, and about 35 minutes later, the grit/polenta was stirred up, then baked another 10-15 minutes. 

The result: a nicely seasoned soft polenta under the velvety, green soup. SO. GOOD. Note to self: I wish I had brought a lemon with me - it would have added even a touch more brightness, but I'm certainly not sad about it being left out!


PS - I ended up with yet MORE scraps that went into a bag. When the bag is full of other bits and ends, I'll start another round of stock. And so it goes on...


Tuesday, May 9, 2017

Roasted Chicken Thighs. 100 Days of Recipes: Day 36


Roasted Chicken Thighs


current reading
I'm not really intending to just cook my way through "The Pleasures of Cooking for One" from start to finish, but as it happens, I picked up some lovely chicken thighs at the Tailgate Market, and her very first recipe is for a Broiled or Roasted Chicken that just hit the spot. Actually, it's the first formal recipe, as the introductory writing in the first chapter is a recipe of sorts on general kitchen preparation. I was pleased to read a lot of what I already have and do, and that we share the belief that cooking is "an ongoing process, one dish leading to another," (Pleasures of Cooking for One, p.4) and she has a lot of lovely, handmade pottery throughout her images, which makes Judith Jones my kitchen BFF. I also got a giggle out of this section:


fresh garlic scapes and young onions were my substitutions 
It wasn't in the list of essential equipment, but I thought a
mezzaluna would have been great to mince up these aromatics.
Then again, I do love my kitchen knives of all sorts!


"... If you don't happen to have an ingredient that I suggest, try a likely substitute - a shallot for a small onion, some fennel instead of celery, a different root vegetable to replace the ubiquitous carrot, dried mushrooms for fresh. Above all, don't throw away those few tablespoons of cooked spinach, or the three or four extra spears of asparagus you couldn't quite finish, and particularly the little bit of precious juice left in the pan - all these can be used in myriad ways and offer the single home cook some creative challenges."
(Pleasures of Cooking for One, p5)

It tickles me because so often when I'm sharing recipes, I'm usually sharing lists of optional replacements, and a friend recently noted the extreme number of "small jars" in my fridge - all with bits of this and that leftover from some previous meal.

I digress - so the first recipe I come to in the book is for Broiled Chicken, and in what I think is the very spirit intended, I immediately see how I can change it up to suit my ingredients. Here's what I did:

Roast Chicken

4 Bone-in, Skin-on Chicken Thighs

for the Herbal Undercoating:
1 Garlic Scape bulb, peeled and cleaned
Salt
1 good size, or two small spring onion bulbs, with about 3-4 inches of the greens, too
2 strips of lemon peel
handful of parsley leaves
fresh ground pepper
2 TBSP olive oil

Accompanying Veg:
1 small Sweet potato, cut into wedges
3-4 med/large mushrooms, cleaned and cut in half or quarters
3-4 baby turnips, cleaned and trimmed and cut in half
1 small carrot, in thick slices across the round
salt and pepper

I prepped and cooked this dish in one of my ceramic pie plates, so I did not pre-heat the oven, but put it in cold and then set it to 375. More on that later, but if you're not cooking in handmade ceramic, you can pre-heat your oven to 375 and use a roasting pan.

Rinse and pat dry the thighs, and place them skin-side up in the pie plate. 

Prep the Undercoating*:
Finely chop the garlic scape, onion bulb, and green onion with a good sprinkle of salt to a coarse paste texture. Chop up the lemon peel and parsley, and add it to the other and chop/mince it all together with the olive oil. Add a generous amount of fresh ground pepper. Divide out the mixture in four parts, and after creating an opening and separation of the skin on the thigh, push 1/4 of the undercoating mix under the skin of each thigh, pressing on the top of the skin to help spread it evenly. Salt and pepper the skin side, then flip them over and salt and pepper the other side (leave skin side down). 


You may most certainly bake/roast in handmade ceramic -
Just heat the dish with the oven. There are very few recipes that
truly require a 'pre-heated' oven. The flavors develop beautifully.
It's kind of like chicken pot pie - the extreme 'gluten-free' version!
When you cut your accompanying veg, place them all in a bowl, and give a very slight drizzle of olive oil over them, tossing them to get them all coated. Salt and pepper them, and then add them to the pie plate with the chicken.

Place the pie plate in a cold oven, then set it to 375 degrees. In a pre-heated oven, you might roast the chicken 20-25 minutes, then flip them skin side up and roast for another 10 minutes. Starting in a cold oven, you will have to adjust that a bit, maybe just adding another 5-10 minutes for the warm up. I flipped the chicken after about 35 minutes, and the skin was nicely done, but I worried about over cooking, so decided to re-crisp the skin under the broiler. That was a great idea, but a slight distraction caused me to check it about 3-4 minutes later than intended. Everything was still DELICIOUS, if not a bit charred here and there. Extra flavor.


Roasted in handmade, served on handmade, and delicious!
*I'm sharing my take on this wonderful recipe, and I don't know how available or hard to find this book is, but I highly recommend seeking it out if you don't have it, because her own style of describing a process, along with some other very cook tips and tricks that I didn't include, are in the book. Get the book.

Another good thing to come out of prepping this meal, and as encouraged in the book, I had a good bit of vegetable bits and ends, and I brewed up a nice pot of veggie stock that will become a soup later this week. Stay tuned!